To send an encrypted email, you’ll need an appropriate license from O365. If you’re unable to send encrypted emails, and believe that you are required to, please contact support.
In the Outlook Desktop App
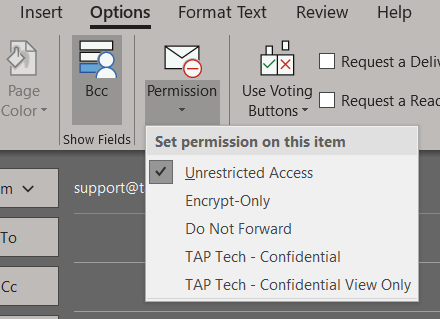
- Click the “New Email” button in Outlook to open a new email
- Click the Options tab in the top ribbon
- Click the Encrypt button (Or Permission button), or the arrow below to change the setting to “Do Not Forward”
- Type your message and send as usual. The email server will take care of the Encryption for you.
From the Outlook Web App
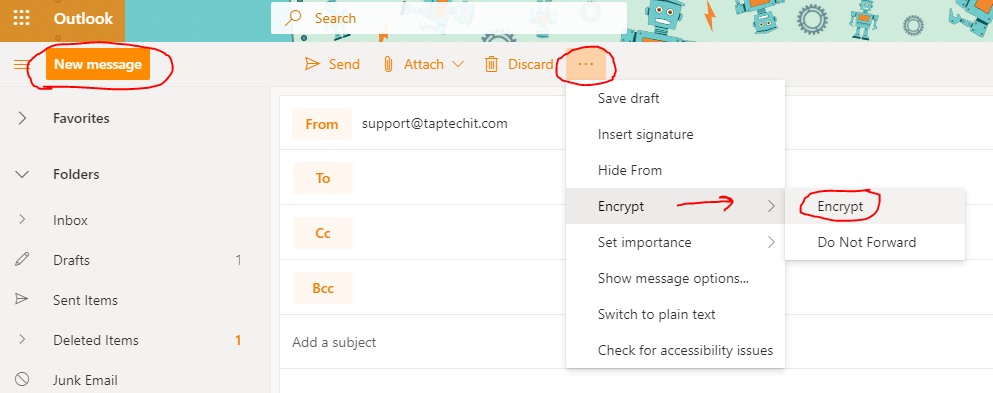
- Click the “New message” button to create a new email
- Click the three dots “…” button at the top ribbon
- Go to Encrypt -> Encrypt or Do Not Forward
- Type your message and send as usual. The email server will take care of the Encryption for you.
Types of encryption
There are two types of encryption:
- Encrypt. This securely Encrypts the message and sends it to the recipient
- Do Not Forward. This performs the same encryption, and also prevents the email from being forwarded or printed/saved to the end user’s local machine. Please keep in mind- this isn’t perfect. The end user could still take a picture of the email, for example.